Stripping a Lady

Regina Laska is being dismantled
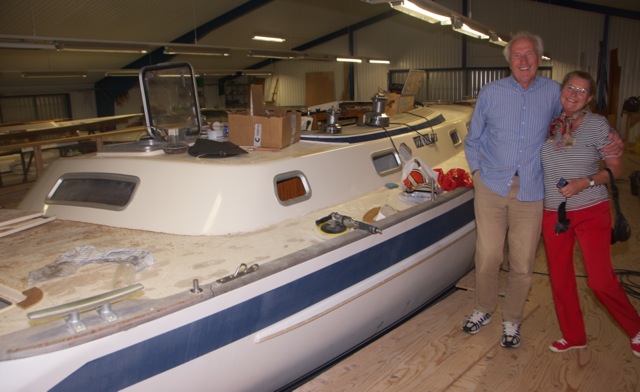
My Mum and Jan standing on the “working deck” while visiting Regina Laska at Ellös Teakservice
Before re-building and adding all exciting new equipment, Regina Laska needed to be stripped and dismantled all the way down to her skeleton. This was done while she was standing in Kai’s comfortable and warm Teakservice-shed with the music playing, giving the right atmosphere for working in good mood.
Soon enough the old teak deck had gone, but there was still a lot of work to be done in order to get all old equipment out from down below. The “working deck” adjacent to the boat came in very handy when carrying it all out: Old batteries, toilets, the stove, ceilings, floorboards, upholstery, cables, electrics and electronics…. It all went over the deck and down the stairs.
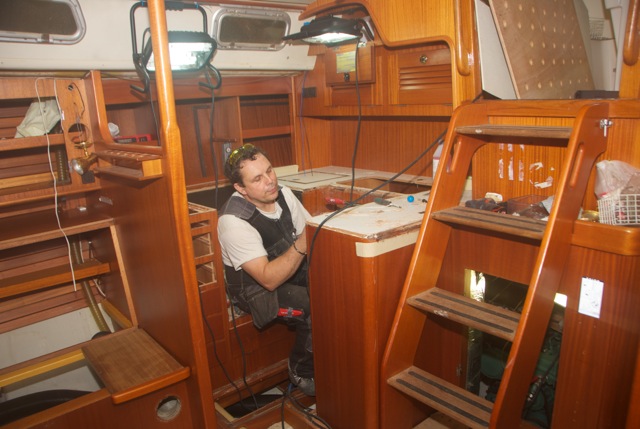
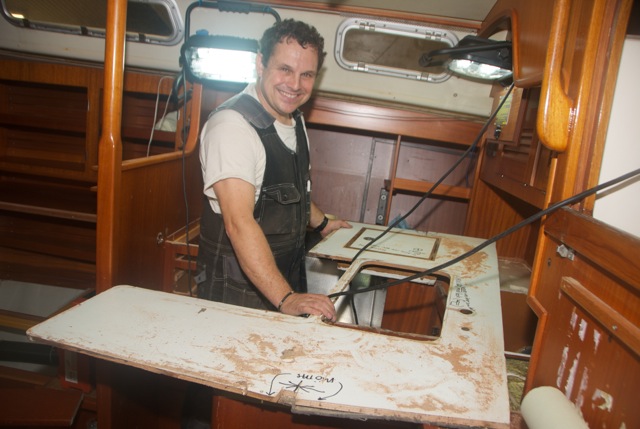
My own career as a boatbuilder showed some progress as well: I was promoted from being a vacuum cleaner with Ajax as my closest company to become Regina Laska’s first stripper. This is the best lesson you can get to understand how boats are being built without destroying too much. I was creeping into cupboards and inside the engine room in order to follow where all the cables and hoses are going and what they all are for.
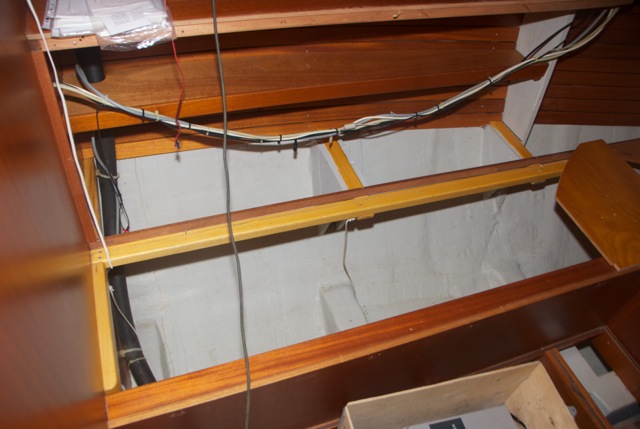

Cables everywhere. Where do they all lead to? And why are they there?
Some parts of the sofas and berths came off quite easily, especially after asking where the invisible screws are hidden in order to unscrew them all. You really need to know how! However, when it came to the backrest of the navigation chair I had to give up and ask Carl for help.
Carl, who knows everybody in vicinity when it comes to boat building called the very same guy who had once installed the backrest at Hallberg-Rassy more than 15 years ago. He still worked at Hallberg-Rassy and, yes, of course, he could remember this boat and then he confessed the story: Before, they used to put the back rest in place by means of Velcro. But Mr Christoph Rassy didn’t like that, went down to the workmen and proclaimed with his Germanic voice spreading authority: “It needs to be STRONG!”
And, yes, it was to become strong. So strong that Mr Rassy would never be able to complain about loose backrests again: They glued it with Sikaflex.
15 years later, Mr Rassy might still be content with its strength, but I was not as happy. Gluing wood with Sikaflex means the joint is stronger than the wood itself and Carl had to use all his battery of tools and bold language in order to work himself through the backrest by simply hacking himself through.
The poor man who once had glued it there had such a bad conscience. He murmured that these days they don’t glue it with Sikaflex any longer and promised to help us to find a new backrest for the navseat as a compensation. I am not sure why these people all just seem to love this project, but Regina Laska is getting all the support one can dream of. A new backrest was then sent off to Pettersson, who is in the process of making the new upholstery for Regina Laska.
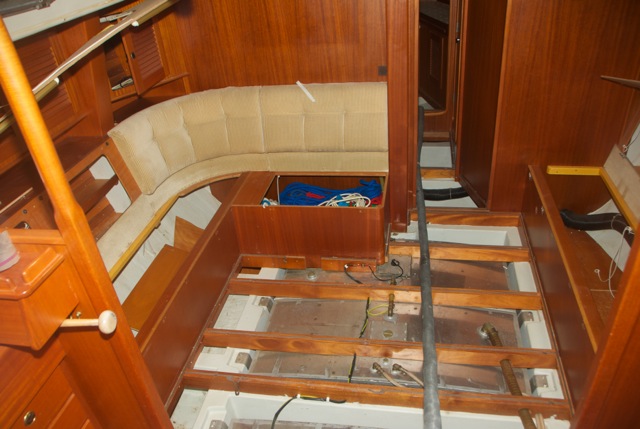
Dismantling the sofas and settees. You need to know how…
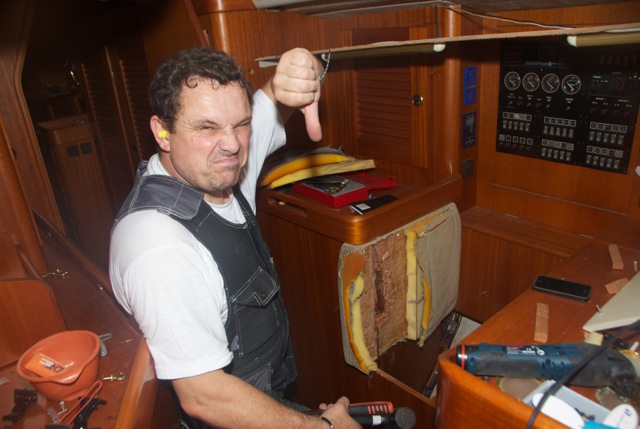
The back rest of the navigation seat was glued with Sikaflex and not even Carl found that funny
Next challenge was the galley top, equally glued with Sikaflex for a very good reason. The handrail around the galley top is not only there to keep things in place, but to give you a support at the same time. As such, it needs to be just as strong as Christoph Rassy once wanted it.
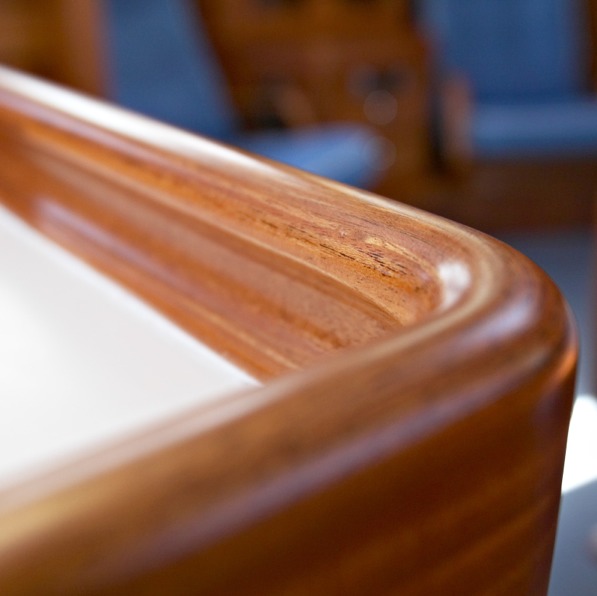
The beautiful handrail around the galley, here on a new HR
(Photo: courtesy of Hallberg-Rassy)
We wished to take off the old galley work-top, which was the standard Perstop, and replace it with an upgraded one in Corian. A large number of Hallberg-Rassy’s have this old worktop and I know that many would like to replace the Perstorp, but it takes a lot of skill, patience and knowledge to remove the handrail without destroying it. If you break it, a new handrail would become extremely costly to produce and we were discouraged by many to even try. For Carl, this was a challenge. He said this is not a project where we test the “impossible” for nothing! We wanted to give it a try!
Very slowly and carefully Carl used his special electric tools with blades thin as paper to cut through the Sikaflex.
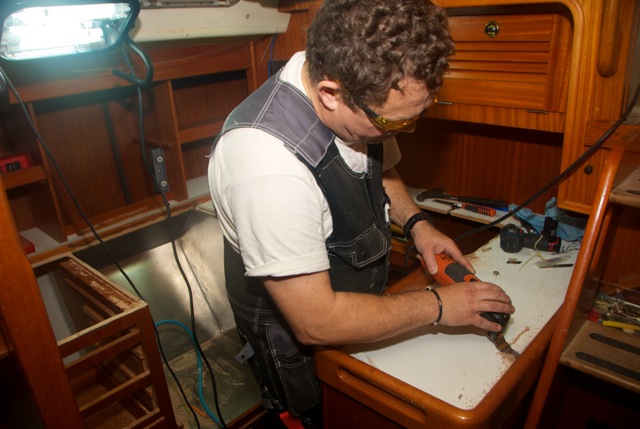
Carl slowly working himself through the Sikaflex with his magic tool
The handrail is gone! Now the galley top, which is glued onto mahogany underneath, needs to be lifted carefully with a lot of patience.
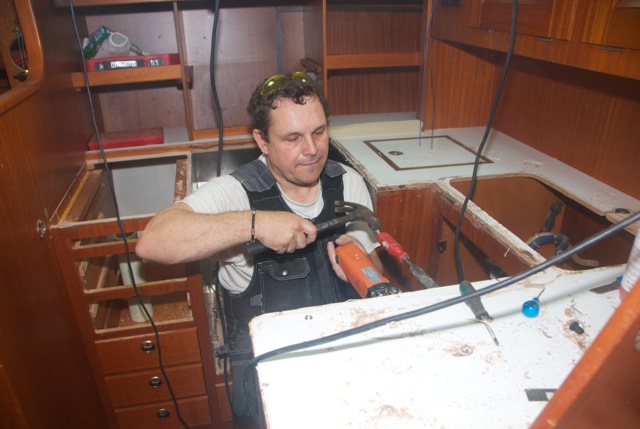
A hammer and chisel was needed to progressively increase the gap between the mahogany interior and the old galley top.
Success! A very proud Carl Adams!
After many hours of work, we could successfully lift off the galley top in one piece without even a scratch on the mahogany. A very proud and happy Carl could now bring the old top to the workshop in order to make a new template for the final Corian top.
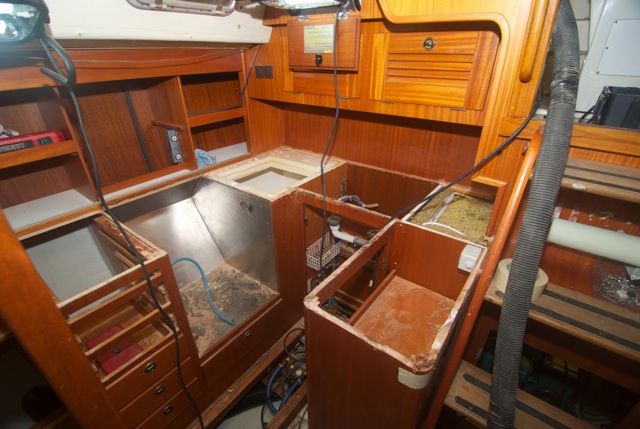
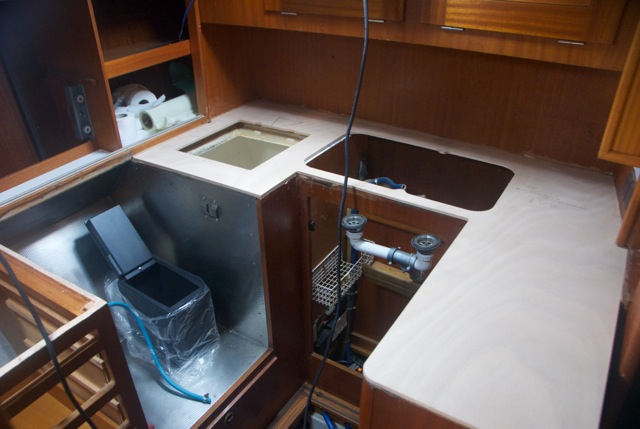
The empty galley waiting for a new stove, a new sink, new water taps and the new worktop including a new bigger lid for the fridge and a new lid for the stove.
The new template in wood fits like a glove. This template can now be used to produce the worktop in the rather expensive material Corian, without miscutting.
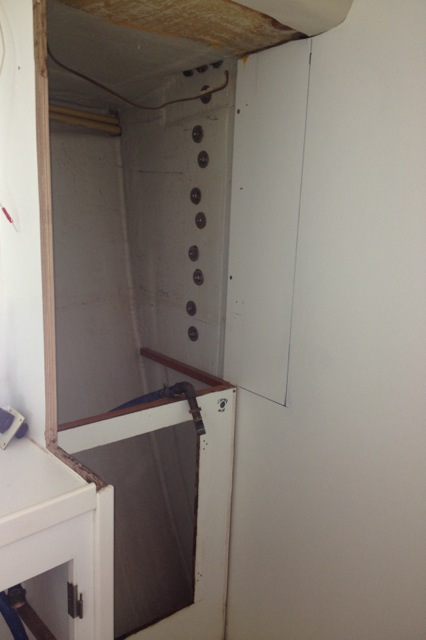
While Carl was working as a carpenter, I continued my work with dismantling the electric and electronic systems onboard, following all cables carefully not to rip out any important cables that still could be used. For instance, the old power cables from the batteries going forward to the bow thruster and anchor windlass were now to become the cables feeding power from the batteries under the floorboards by the mast back to the navigation table and the electric winches.
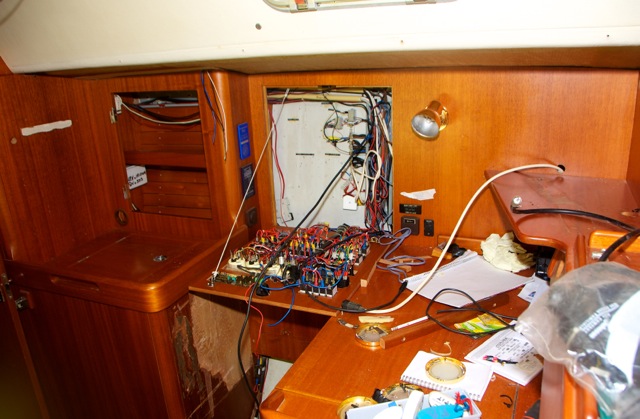
Most electric and electronic equipment has been stripped in order to make space for the new Furuno and WhisperPower equipment
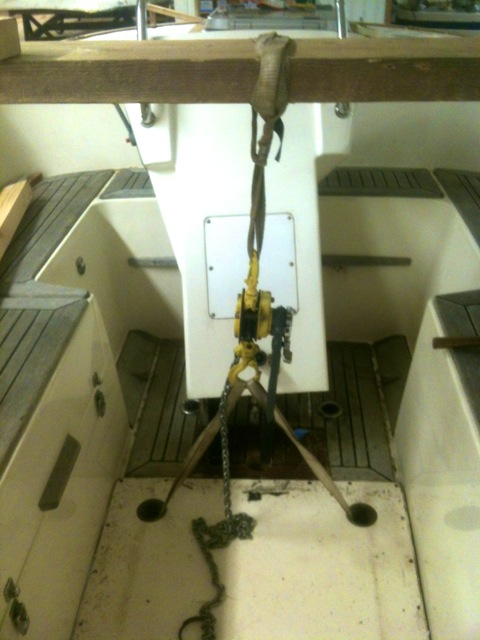
After having unscrewed all portholes (=windows), which are to receive new glass, and thereafter taken out the toilets (my favorite job!) it was time to deal with the cockpit floor. This needs to be lifted in order to get the main engine out. The good news was that the cockpit floor is screwed into Silicone, which is much easier to dismantle than Sikaflex. The bad news was that the steering pedestal was placed in such an unpractical way that it had to be lifted first, in order to get access to the underlying floor.
A trick was to lay a beam across the cockpit with a rope going through the two drain holes in the cockpit. Then, we could slowly winch up the floor until the silicone gave up and the entire cockpit floor was lifted with a great shlouuuup. I’m always surprised you don’t break more when applying so much raw force. For sure, these Hallberg-Rassy’s are built very strongly!
The exit for the engine was open and after a test-run of the engine, it will be lifted out of the boat in order to give space for working in the engine room.
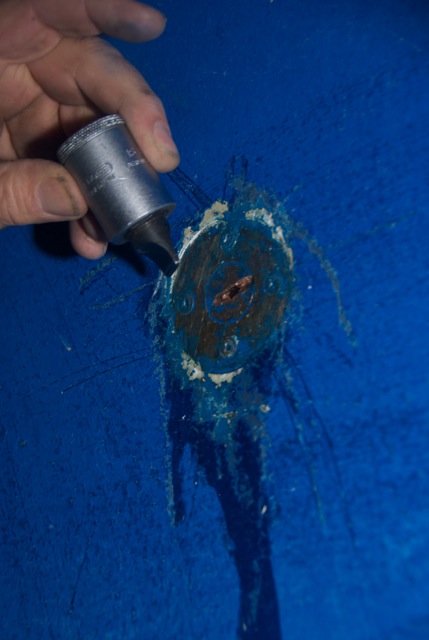
Another surprise, however not very expensive, was the plug to the bilge. We just wanted to scratch off some of the antifouling paint in order reach the actual slit for the screw. To our surprise, bilge water was coming out just by a gentle scratching on the surface. It was explained to me that this plug was of the old hollow type and needs to be replaced by a massive one for some 8 EUR. I’m glad I noticed and suggest all boat owners to unscrew their plugs from time to time and to check it!
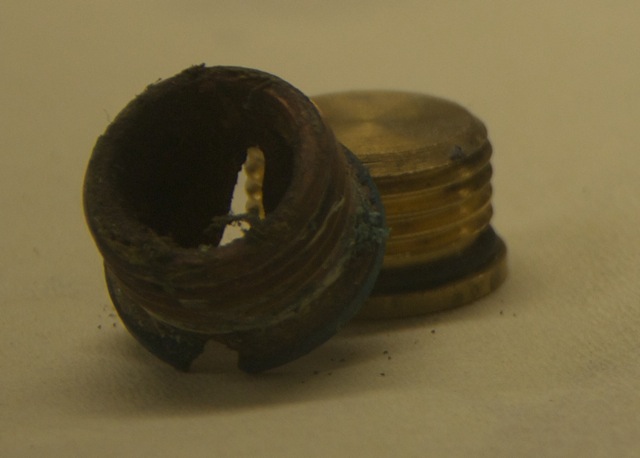
The hollow old plug with the slit having become a hole and the new massive plug in the background
Next, I took apart all winches, which had been well greased by the former owner, but seldom cleaned, it seemed. I took every gearwheel apart, cleaned it with diesel and put a thin new fresh coat of special winch grease on them. Suddenly they turned easily and it was a joy to listen to the small springs inside the winches as they jumped for joy while it was turning.
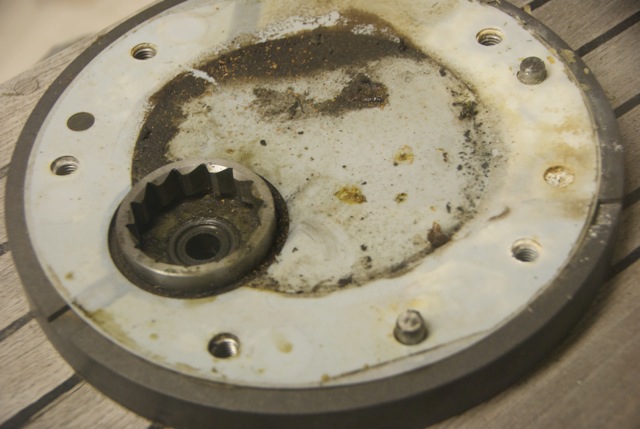
The bottom platform of the winch after stripping all the gears
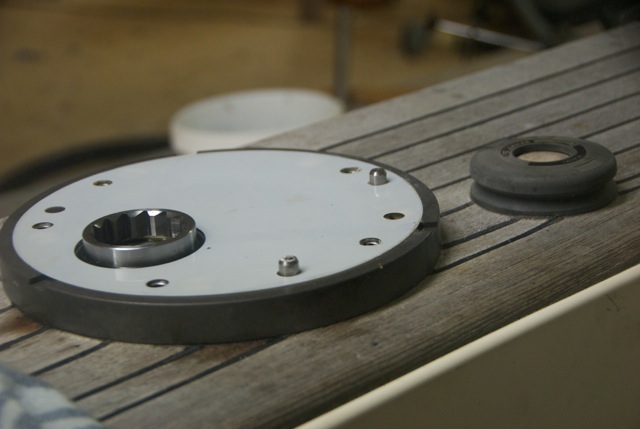
After a bit of cleaning…
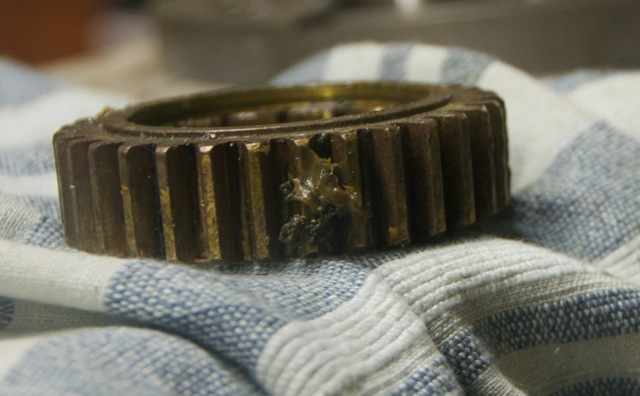
This type of clogged grease stops the gear wheels to run smoothly. It doesn’t help to grease more. Rather, a winch needs to be cleaned with diesel regularly
Remember the oil leakage from the bow thruster that we were afraid of back when we first inspected Regina Laska in Italy? The reason became obvious and the repair easy: After stripping the bow thruster, some remaining rope could be found around the shaft. Obviously, the bow thruster must have become tangled in a line and this destroyed the two seals. Although it was not easy to dismantle the bow thruster propeller, we were happy that the bow thruster could be repaired easily.
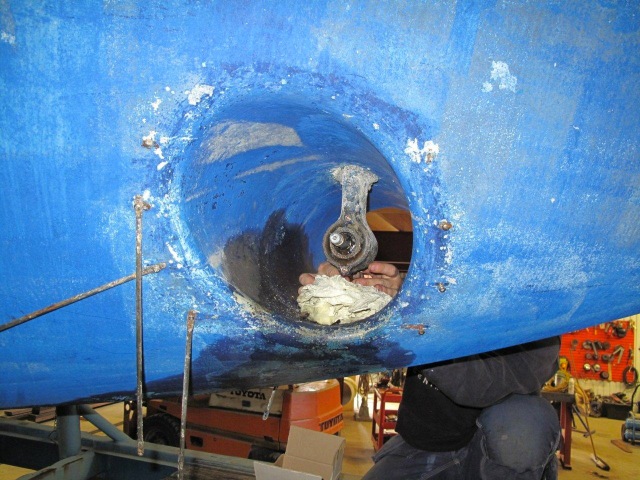
The propeller has been dismantled from the bow thruster and the reason for the oil leak was revealed: A tangled rope had destroyed the seals, which were easily replaced.
The propeller has been dismantled from the bow thruster and the reason for the oil leak was revealed: A tangled rope had destroyed the seals, which were easily replaced.
And where did all the interior go that we were stripping off, one may ask? It was all sent to Orust Lack, where Anna was looking after the interior, sanding and varnishing. Every little piece of wood is being taken care of with great love and attention. The mahogany frames around the hatches, for instance, have just been sanded and are ready for one of the many coats of varnish.
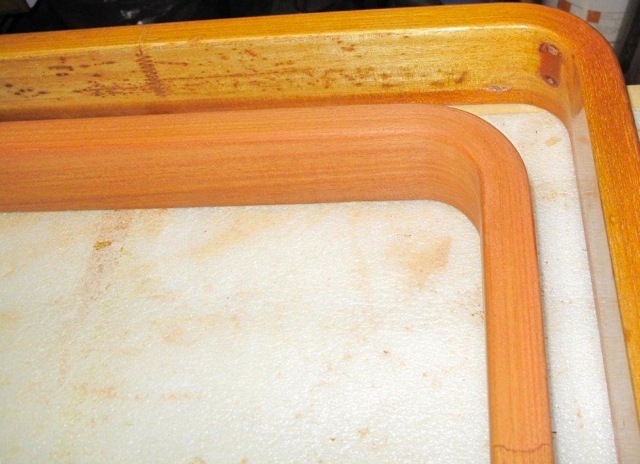
Can you see the difference? The hatch frames: before and after Anna’s treatment
Regina Laska is now as empty as she is suppose to get, totally stripped down to her bones. The work can start! It’s time to begin the retrofit and to install all the new exciting equipment to get her into a state-of-the-art, top modern boat, yet remaining the classic fine yacht she has always been.
Regina Laska having been stripped to her bones