Saida getting a new teak deck
Sending photos to Rudolf and Doris
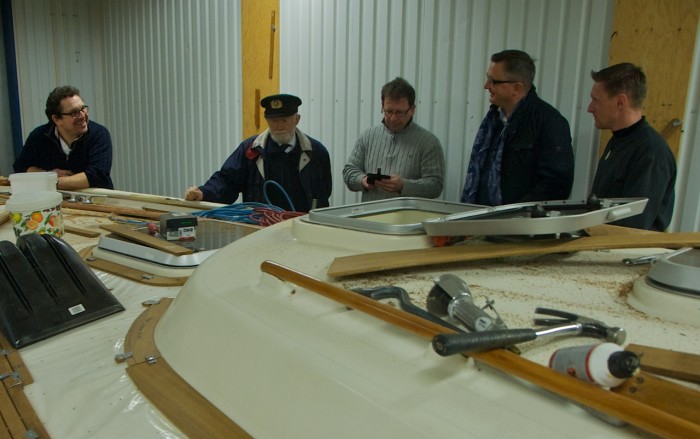
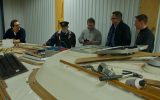
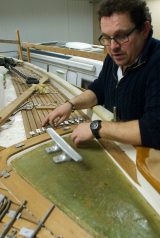
The refit team investigating the work on Saida together with the owner of HR46 Blue Daisy Artur and Captain Ziemowit Baranski
The refit team of Ellös has been working on the HR312 Saida during winter. Since Rudolf and Doris will not come and see her until the first week of April, I sent them a couple of photos of the progress in order to discuss further steps.
Rudolf and Doris have decided to proceed with the refit step-by-step and had a long list of small issues for the first winter in Ellös: a leaking water tank, repairing the sprayhood and fixing the deck fitting for the mast cables, for instance. Anna was also to touch up the entire wooden interior and one of the teak pieces in the companionway had to be replaced. Further, there are some major works done as well, such as a new standing rigging, a new teak deck, a new 230V power system and the new LED lighting concept.
What makes the refit team of Ellös so special, is that they do not just do the job they are told to do, but think along the way. The team members may give suggestions for improvements to the customers while working. I think this is one of the secrets behind the success behind the refit organization and why the best boatbuilders choose and love to work for the refit team: They may be creative during their work.
For this reason, it is, obviously, important to get to know the customers and to understand them well. Rudolf and Doris find it very re-assuring that they can speak with me as their refit consultant in their native language, namely German. This way, they can discuss their refit project with me while I keep the contact with the refit team regarding the technical issues.
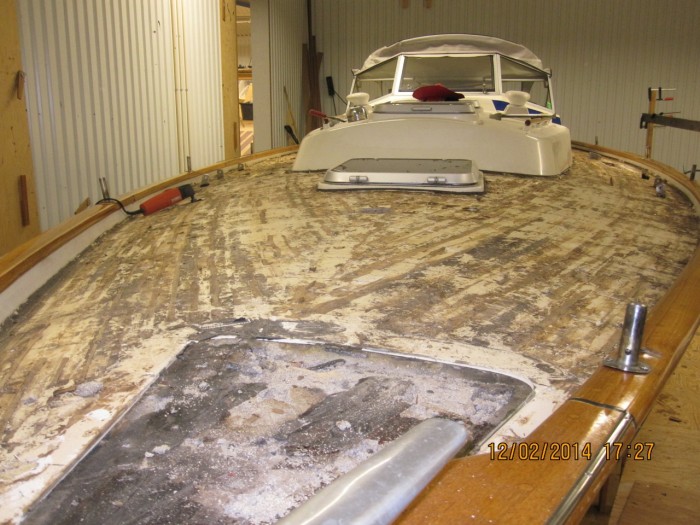
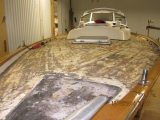
Saida stripped of all its old teak except for the foot-list
For example, when they had removed the old teak they did not just replace it with new teak, but they measured the moisture in the plastic and carefully checked the deck laminate underneath.
This is when they found that there was extensive moisture under both genoa sheet travelers. The reason is that Hallberg-Rassy used to put plywood under the first layer of GRP to reinforce the underlying structure for the heavy loads of the genoa sheets. The problem is just that if water sippers through the laminate (which inevitably will happen with a screwed teak deck over time), the wood will be soaked. And this is what Adams Boat Care found when they worked on Saida. They also found the hatch over the anchor box was not looking healthy.
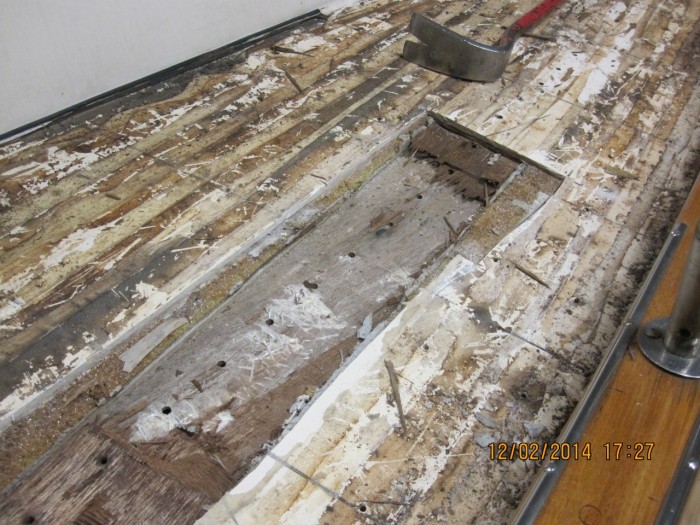
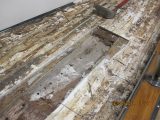
The underlying plywood under the genoa sheet travelers inside the GRP laminate was wet and had to be replaced.
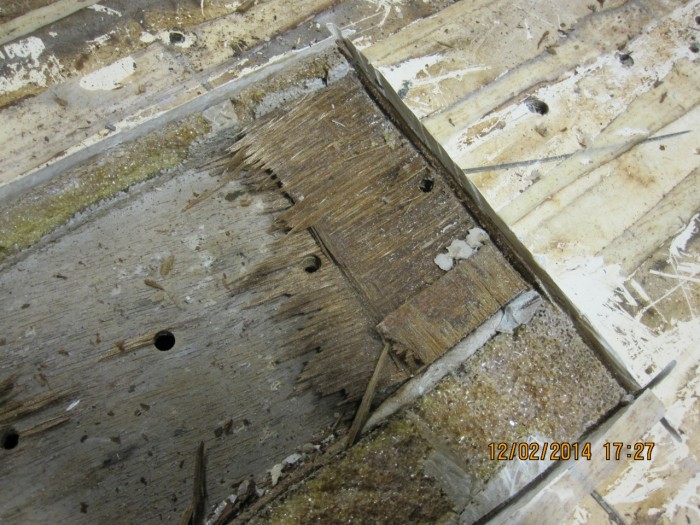
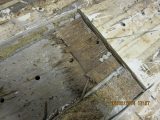
A close-up of the laminate with screw holes going through the laminate. Water was leaking into the laminate and the wood was soaked. It is now replaced the proper way with solid GRP and Divinycell.
These are not huge problems per se and can be fixed at a very reasonable cost, the question is just if the employees of another refit yard would know what to look for and how to solve the invisible problems. In Ellös, they know!
The refit team of Ellös takes a pride in always delivering the very best to their customers not holding back if they see potential improvements compared to the original design. And refit-clients are very often prepared to pay a little extra to get the best solutions when made aware of the different possibilities.
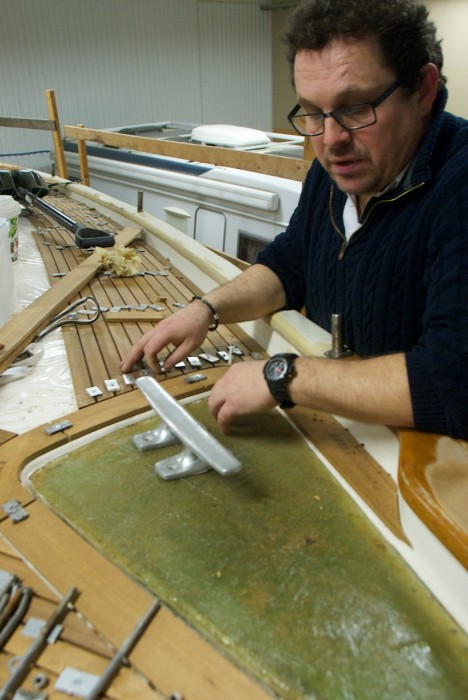
Carl investigating the newly laminated anchor box hatch
For Rudolf, it was a no-brainer to have the team rebuilding the anchor box hatch and to redo the deck laminate under the genoa sheet travelers the proper way with Divinycell and solid GRP.
For the rest of Saida’s deck, she was dry and strong as ever, and Rudolf is very happy that he will not only get a beautifully looking deck with new teak, but also having solved the problem with the moisture in the deck, he was not aware of.
As a side effect, this will remove the “moisture smell” under deck at the same time. The smell of wet wood was omnipresent, but was taken for granted since it was thought this is the way a boat should smell. Now, Rudolf and Doris will get a dry, nice-smelling boat as a side effect!
For the cockpit there were also two possible solutions, either to place new teak on top of the old veneer or to rebuild the cockpit lockers with new GRP, which is slightly more expensive. After some discussions, Rudolf chose the slightly more expensive but definitely more beautiful and practical solution with new cockpit lockers.
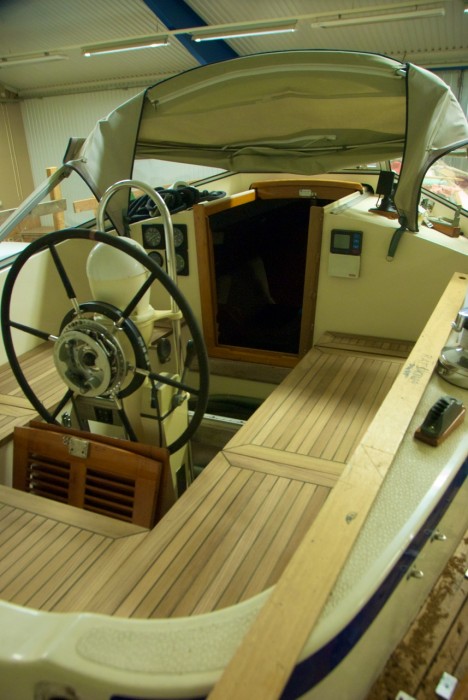
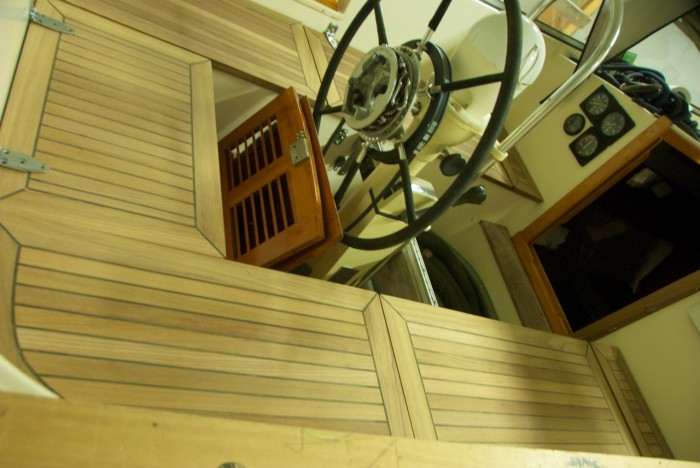
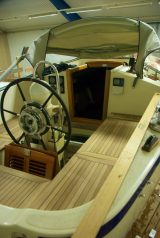
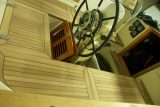
The new teak in the cockpit instead of veneer.
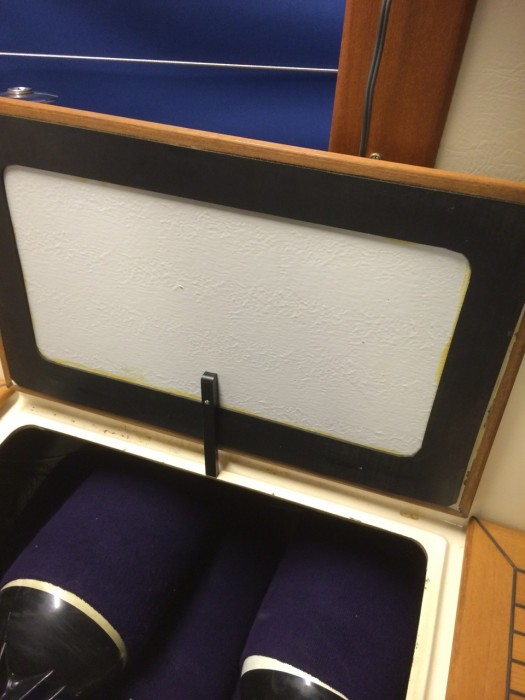
The new GRP-cockpit locker with a strong rubber sealant and new teak on top
Rudolf had another request for his deck, namely the placements of the spring cleats. On these old models, they are placed on deck behind the foot-rail and thus much lower than the rail. This means that the spring-lines are chafing over the foot-list. Rudolf asked if there were any ideas of how one could higher up the spring cleats, e.g. placing them on a small teak base. However, they had a better idea. They suggested to cut out a piece of the foot-rail and to make a new, wider one, instead. Then, they could place the spring cleats on top of the actual foot rail, as they do on the modern boats. Rudolf found this a splendid idea and since the extra cost for this was not too high, he agreed on this considerably more elegant solution.
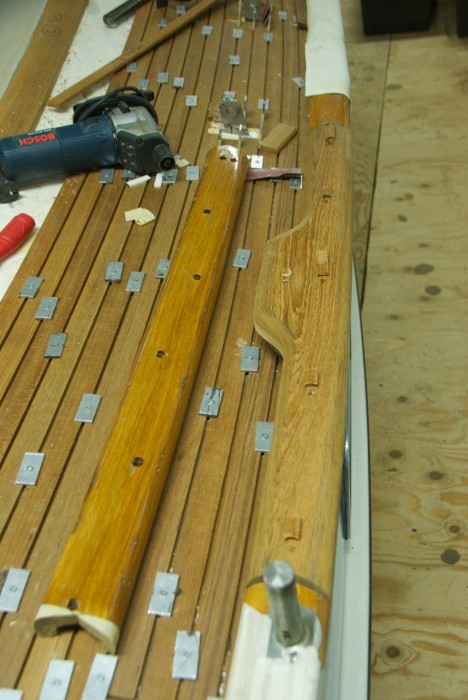
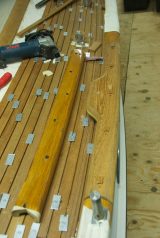
The old foot-list (left) and the new one in place giving enough width to place a spring cleat on top
Rudolf also chose to upgrade all his cleats and drains to stainless steel instead of aluminium and brass, respectively.
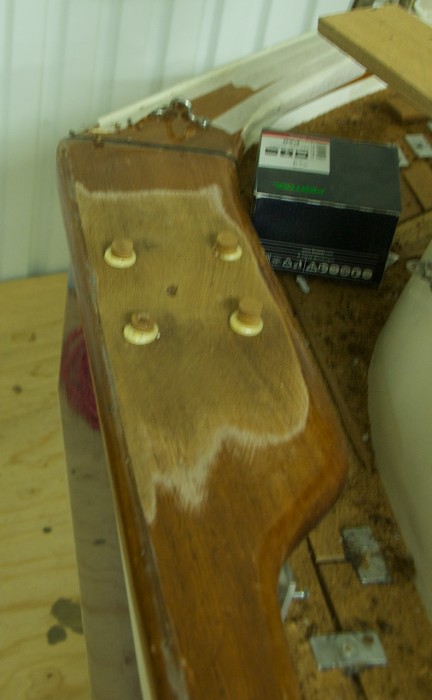
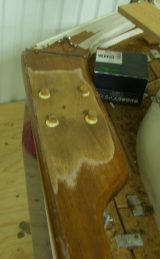
The old holes at the stern are properly sealed with teak before the new stainless steel cleats are placed on top of the footlist
In the first week of April, Rudolf and Doris will come and visit Saida to see the progress with their own eyes. By then, the new lighting system will be in place as well!


