Celestial Navigation in 3 Minutes

The principles of celestial navigation
Scroll down the page to get to the 3 minutes video
Or read the following condensed summery of the entire idea of celestial position fixing
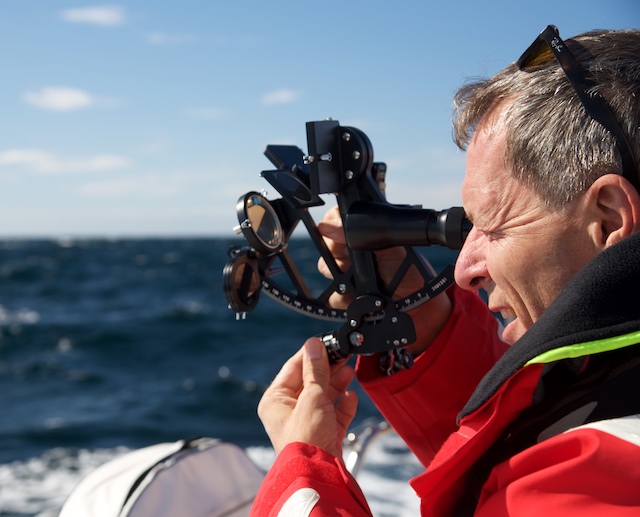
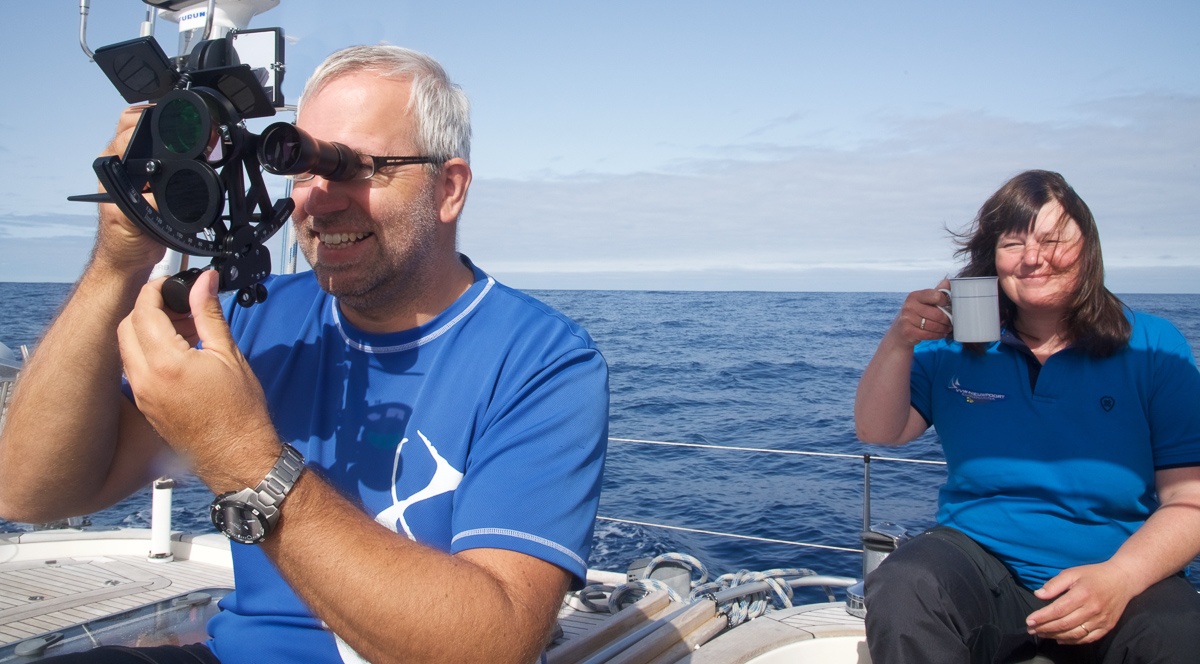
In a nutshell, what you do is to measure the angle between the horizon and the sun (or another celestial object) using a sextant. This is called the altitude of the celestial body and after a couple of corrections, this angle is leads to the observed altitude called “H0”.
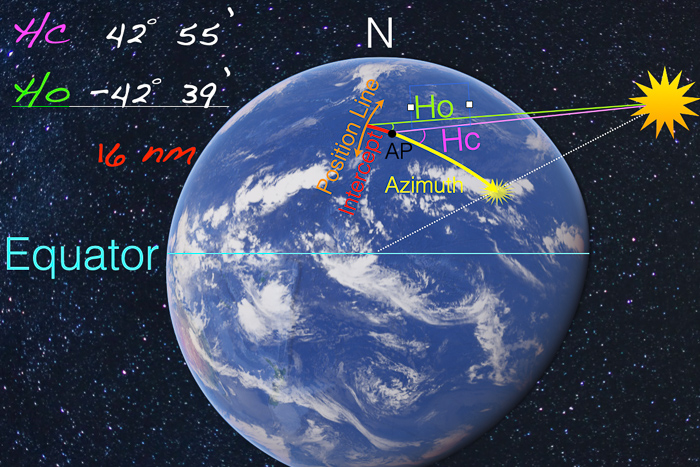
Then you need to know the altitude of the bespoke celestial body you should have measured “there and then”. After picking an Assumed Position (AP) close to where you think you are, you can find the theoretical altitude at the Assumed Position (AP) at the exact time of observation. The altitude you should have measured at the AP is called the calculated altitude (“Hc”) in the sight reduction tables.
Finally, you simply compare
– your observed altitude “Ho” you did with your sextant
with
– the calculated altitude “Hc” which is the angle you should have measured, had you really been at the Assumed Position at the exact time of observation.
It is very unlikely that H0 = Hc and you measure the same angle as stated in the tables for the Assumed Position. In most cases you measure a slightly different angle, due to the fact that you are a bit off from your Assumed Position. After all, you don’t know for sure where you are, otherwise you wouldn’t have picked up your sextant, would you?
The direction of the celestial object (called the “Azimuth”) is also given in the sight reduction table. If your measured angle (Ho) is smaller than the one from the tables (Hc), you are further away from the celestial object (e.g. the sun), if your angle is greater, you are towards.
Like most angles, also Ho and Hc are given in degrees (°) and minutes of a degree (‘). Most sailors know that each degree consists of 60 minutes. The difference between Ho and Hc (expressed in minutes) is how far you are off from the Assumed Position expressed in nautical miles. This is called the “Intercept”.

On the chart, you draw the following:
- Mark your assumed position (AP), i.e. a place close to where you think you are. For this AP the Azimuth and the Hc is given in the Sight Reduction Table.
- Draw a line pointing towards the celestial object. This is the Azimuth
- Mark the difference between Ho and Hc (the Intercept) from the AP along the Azimuth, either further away (if Ho<Hc) or closer towards (if Ho>Hc) the celestial object. Make a Point on the Azimuth there.
- Draw a line perpendicular to the Azimuth through this point. This line is called the “Position Line”
You are somewhere along this Position Line.
Measure the altitude of a second celestial body (another star, planet, the moon etc) and do the same thing and you get another position line. Where they cross, you have your fix.
If you only have one celestial body (e.g. only the sun during daytime), wait for a couple of hours and measure the altitude of the sun later again. You get a second position line from the same celestial body, which cross. If you have moved in the mean time, just transfer your first Position Line accordingly (your estimated course over ground and sailed distance between the two shots).
That’s the entire secret!

The rest (and why the course takes 5 days), is learning how to apply a lot of corrections to get to the observed altitude. Also, not all celestial bodies seem to move at a constant speed compared our planet earth and you need further corrections. A big part of the course is to learn how to choose a suitable Assumed Position (AP) close to you, for which the Azimuth and Hc are given in the Sight Reduction Table. You need to pick a new AP at each shot, by the way, since the AP’s vary with the turning of the earth.
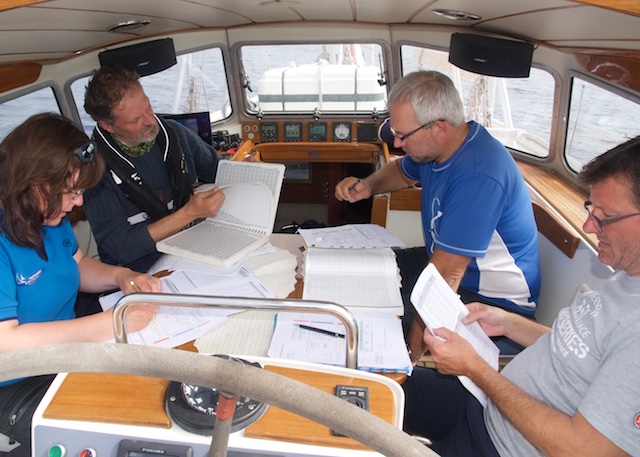
So we don’t have to carry around a huge amount of books, these Sight Reduction tables are literally “reduced” to a minimum, so a lot of similar angles are compiled in very compact volumes. Therefore, you need to learn how to interpret the given data: Depending on your hemisphere and the hemisphere of the celestial body and depending on if it’s morning or afternoon, you need to add or deduct 180 or 360 degres from the given figure in the table to get to your Azimuth. Also, the sun’s exact latitude (which is called the “declination”) needs to be considered more precisely, when reading off the Hc from the tables. But these are all corrections you learn to apply in the course and shouldn’t distract you from the principally very simple task to compare two Altitude (Ho and Hc) in order to get the Intercept and draw a Position Line perpendicular to the Azimuth.
When shooting stars and planets, you can only do so when you see the horizon (light enough) and the stars and planets (dark enough) at the same time, which is called twilight and occurs just before sunrise and after sunset. So you learn how to pre-calculate both the times of twilight and especially which bodies then can be seen so you know how to pre-set your sextant and look in the correct direction in order to find them.
But don’t worry, it’s not that difficult as it might sound! And templates will guide you all the way, so you can remember how it works.
I normally explain to my participants that it’s the first day of the course which is the hardest. Then, it just gets easier and easier, since it’s really only “more of the same” with a couple of new additional corrections depending on the observed body. And when you come to the point that you can produce your own chart from a blank plotting sheet and see how it all fits together, the feeling of satisfaction is very rewarding!
“The sextant is proving that you aren’t at the position you think you are,
and it gives you the exact measurement of your misjudgment.”

