
Regina Laska receives her new vacuum-glued teak deck
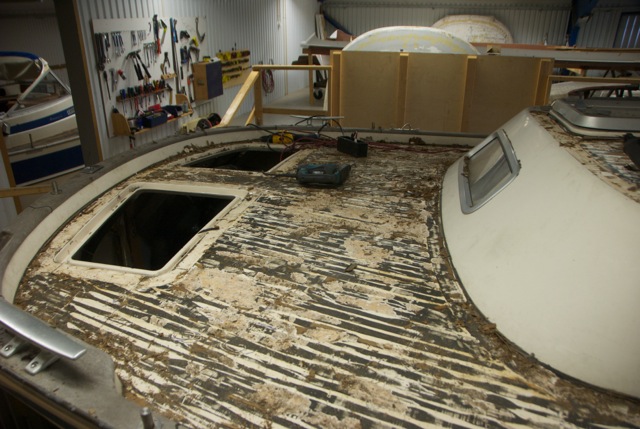
Regina Laska after her old teak has been stripped off
Before approximately 1987, Hallberg-Rassy used to lay the teak in silicone. This material kept the deck free from leakage but it was not a particularly good glue. Hence, old decks were more held in place by the many screws than by the silicone. Eventually, the silicone looses its function and it is not unheard of that water finds its way between the teak and the underlying GRP-deck nevertheless. You can sometimes hear that you are walking on water, which is not good if this water freezes in winter. But even in warmer climates water can find its way further down through one of the many screw holes down below deck. Some old teak decks are still fine, but for others it is time to change the teak. The good news is that a teak laid in silicone is easily removed from the boat: the screws are undone and the teak ribbons can be lifted off the boat.
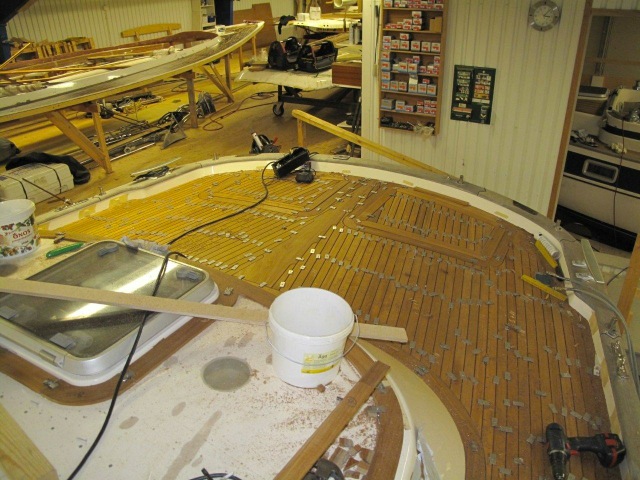
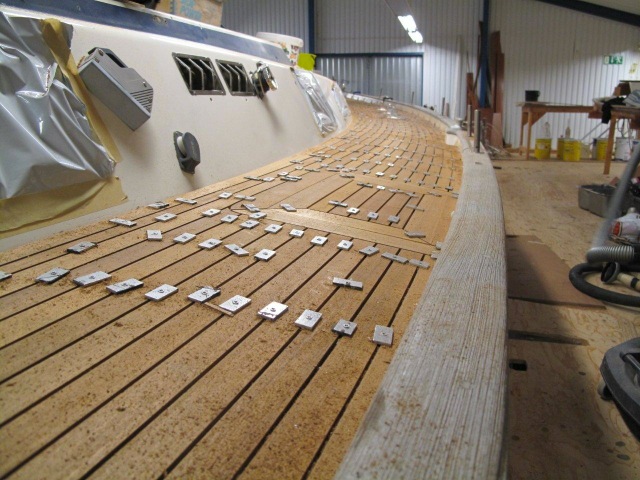
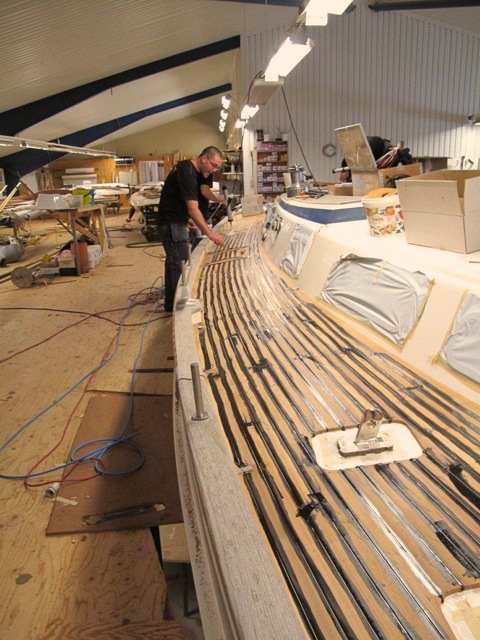
Regina Laska, having been built in 1997, had its teak laid SIMSON Bedding Compound instead of Silicone, which is a totally other matter. Still today, SIMSON is used. You can easily see the black “Sika-stripes” under each ribbon in the photo above. SIMSON Bedding Compound is an excellent glue (remember the back rest of the navigational seat in Stripping a Lady?). Therefore, after 1987, the teak is primarily held in place by means of the SIMSON Bedding Compound, which is good. The many screws were originally necessary solely keep the teak ribbons in place and to give the necessary pressure during the gluing process. Due to the fact that one ribbon was glued after the other during the laying process, you have SIMSON Bedding Compound only under the centre of each ribbon. Theoretically, water can still penetrate between the ribbons and finds its way under the deck where no SIMSON is present, i.e. at the white parts on the above photo.
It should be said that teak decks laid by Hallberg-Rassy after 1987 are very good and a leaking deck is not often seen. Changing the deck is therefore in first place a cosmetic issue, which doesn’t make it less attractive.
In order to totally avoid all the screws (who wants hundreds of holes in the deck?) and being able to obtain an even spread of SIMSON over the entire deck, we opted for the relatively new technology to vacuum glue the deck rather than screwing it.
Vacuum glued teak has yet another advantage, namely that it can be sanded more times. Traditional screwed teak is 12 mm thick. After approximately 4 mm sanding, the screws become visible. If you lower each individual screw you might be able to sand a total of 6 mm. Vacuum glued teak is 9 mm thick. You do not only save weight, but thanks to the lacking screws and a different design in the teak ribbons, you can sand no less than 7 mm. In other words, vacuum glued teak has a considerable longer life span thanks to the sandable thickness.
To vacuum glue smaller areas, such as the cockpit or the bathing platform has been done for quite some time. Especially the US has a good experience in vacuum-gluing teak. The technology is, however, new in northern Europe. You need to be quite skillful in order to succeed and with no screws to hold the teak in place, it is a special challenge to bend the teak ribbons along the hull shape when using this technique.
Vacuum-glued teak does not only mean avoiding all screws and getting an even spread of SIMSON, but it also allows for more teak thickness for later sanding throughout its lifespan. Despite the fact that vacuum glued teak decks are 3mm thinner (9 mm thick compared to 12 mm for screwed decks) it has more available thickness for sanding. There are simply no more screws which prevent you from sanding due to the fact that they become visible. The life span of a glued teak deck is therefore said to be considerably longer than for screwed decks.
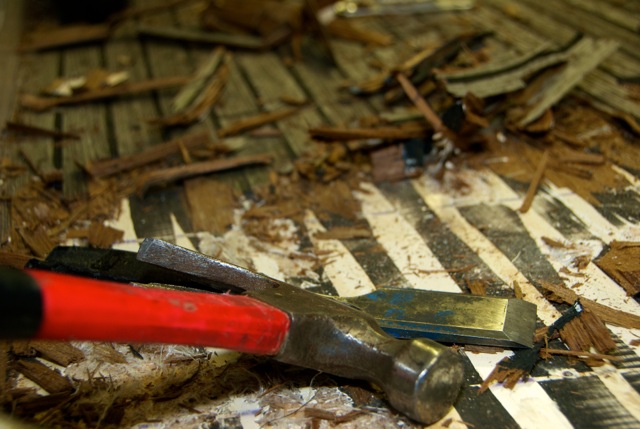
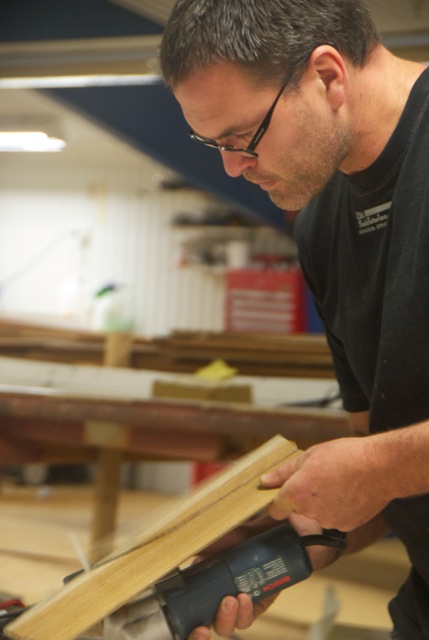
Traditional tools with brutal force are needed in order to remove the old teak deck (Photo by Jessica)
The first challenge was to remove the old teak deck, which was not an easy task. With each ribbon having been glued with SIMSON, they were really bonded to the boat and very hard to remove. The guys at Adams Boat Care were joking: “Wait until someone has to remove this new vacuum-glued teak in 20-30 years! Luckily we are all retired by then!”
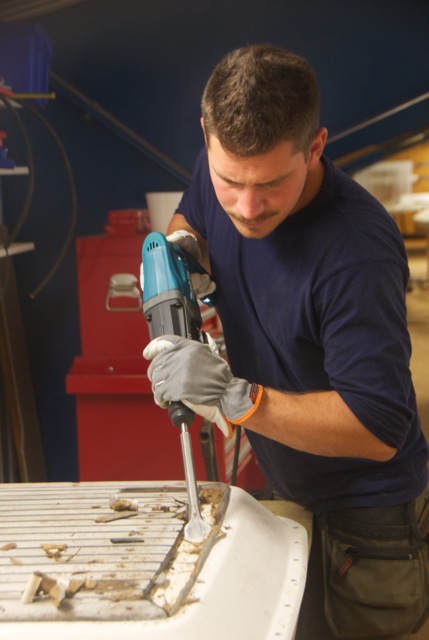
With brutal force using both traditional and modern tools the old teak deck was slowly finding its way from the deck. This was not done in a day or two!

Slowly more and more of the old deck disappears. Photo by Jessica
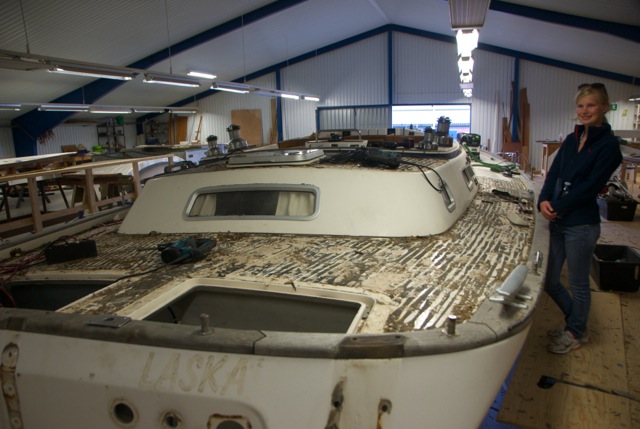
The photographer Jessica in her own thoughts on the project.
With all teak removed, the deck was sanded in order to obtain a totally smooth surface. A plastic film was then placed on top of the deck.
The smooth deck with a plastic film on top
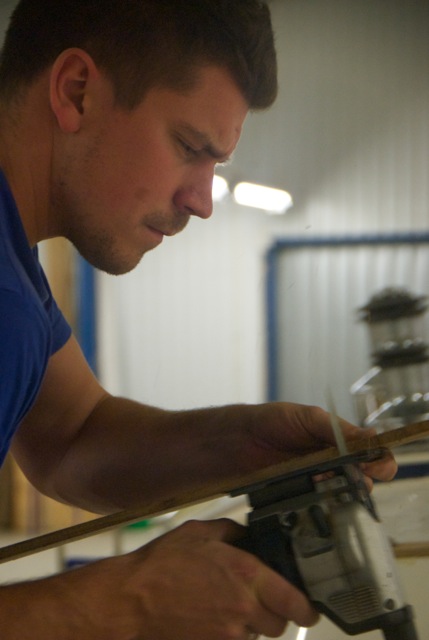
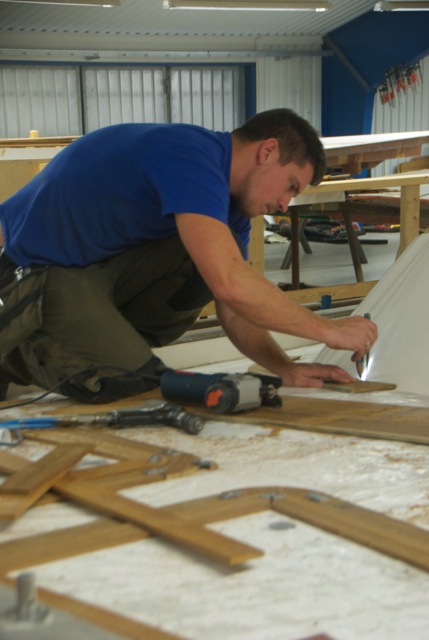
The first teak bits were fun to watch being laid. The guys took a piece of teak and used their entire pride and skill to decide how it is to be fitted. It’s like making first piece in the huge jigsaw puzzle eventually turning into an entire deck. And yes, they do use a jigsaw with a fine blade in order to cut the curved lines in the teak. What a joy to watch these skilled craftsmen!
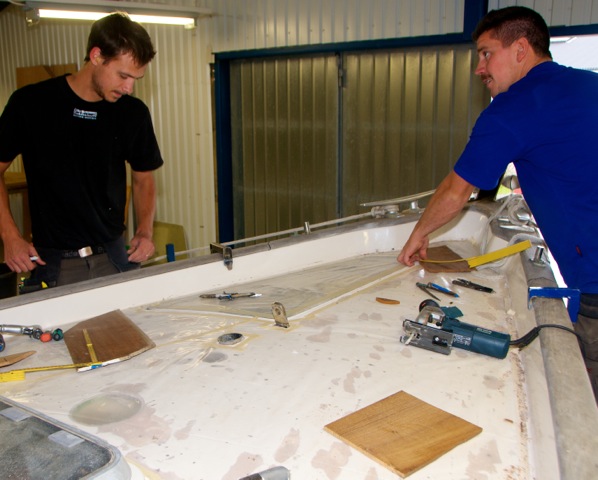
Discussing the first piece. The work has began.

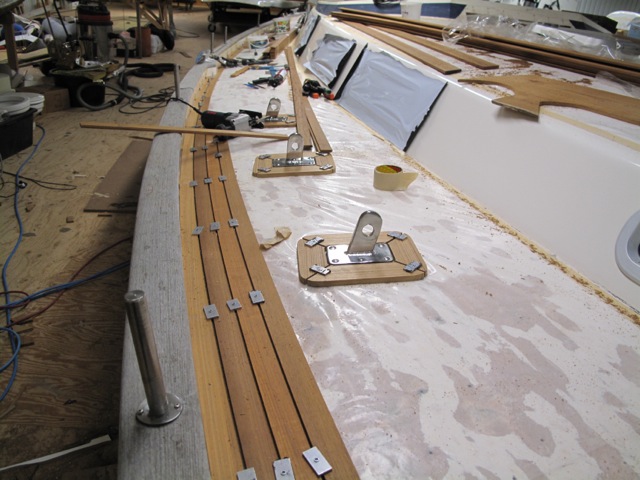
Once the pieces around corners and deck hatches were in place, the long ribbons were placed on deck and the work eventually progressed quite quickly. Please note that the screws are screwed in between the ribbons and not into the ribbons like on traditional screwed decks. The screws are later being removed and the holes they have left in the GRP are closed.
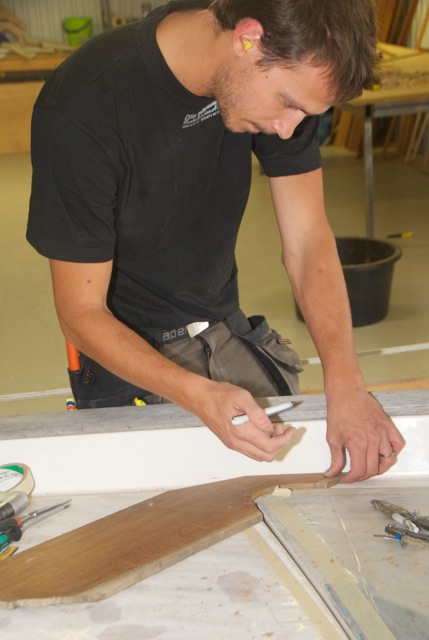
The pieces around the stansions have been cut out by hand. Photo by Carl Adams
The work is progressing quickly once the ribbons are laid. The individual ribbons are glued into each other, but not to the deck (yet). Photo by Carl Adams
The frames around the hatches and the borders around the aft coach roof have been cut out by hand. Photo by Carl Adams
The screws do not destroy the teak and are fitted in between the ribbons. These are later removed. Photo by Carl Adams
The screws have been taken out and the entire deck is held in place by its own force. Photo by Carl Adams
Silicone is used as deck caulking. Photo by Carl Adams
The deck is ready to be lifted off. Photo by Carl Adams

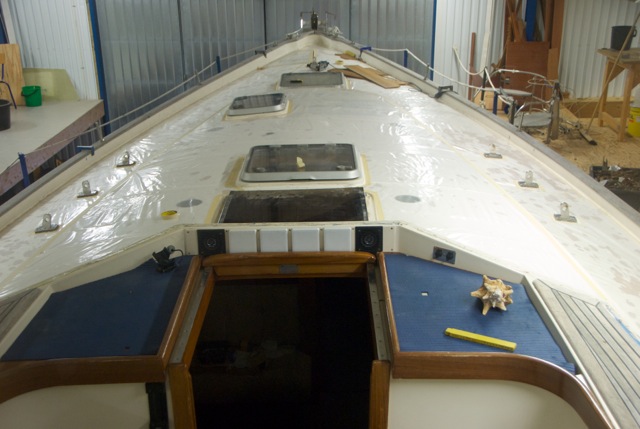
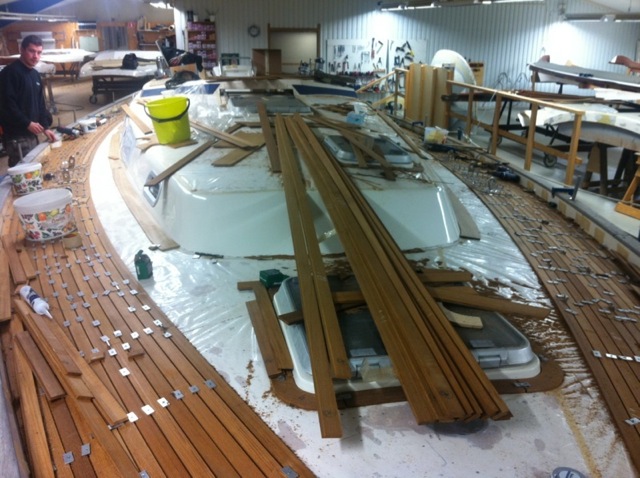
The entire deck is lifted off and moved forward to access the plastic underneath.
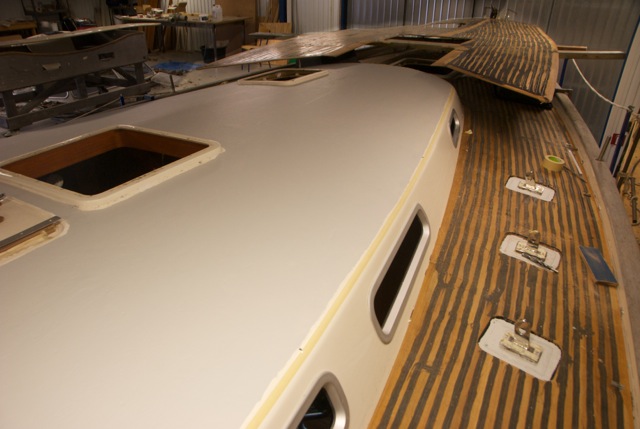
The entire teak for the coach roof is lying on fore deck
The underlying surface was now made 100% watertight. Every single hole was closed. The surface was sanded and made as smooth as a baby’s skin. This is quite a time consuming and important part of the job. Not even dust is allowed onto the deck.
Thereafter SIMSON Bedding Compound was spread out evenly over the entire surface. This job has to be done very quickly: you don’t have much time before the teak needs to go back in place onto the deck in order to start the vacuum process.
During two days and night, the vacuum is controlled and carefully checked.

Carl checking the vacuum
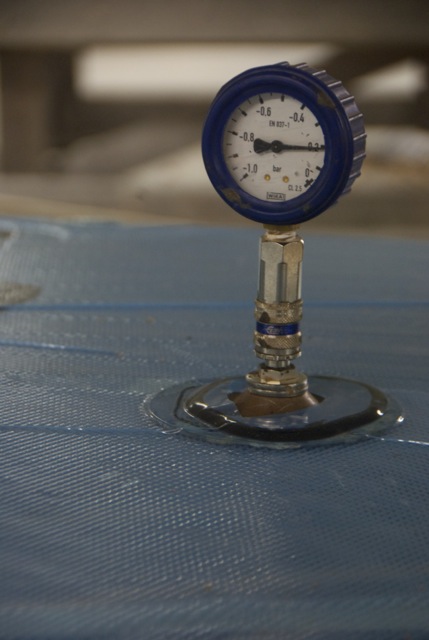
The continuous vacuum is crucial
After two days under vacuum the film can be removed and the afterwork begins. The pride of these skilled teak layers would not be complete without days of fine trimming and caulking around the edges.
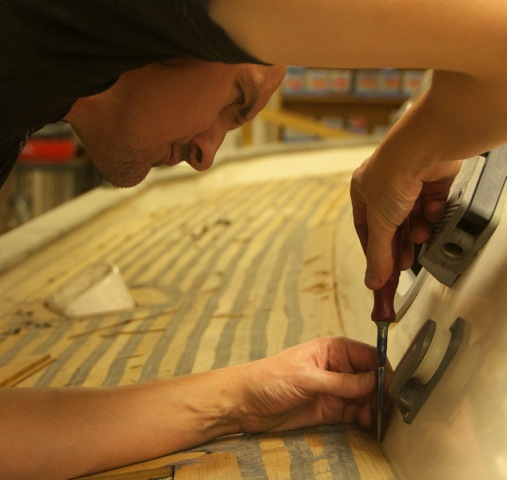
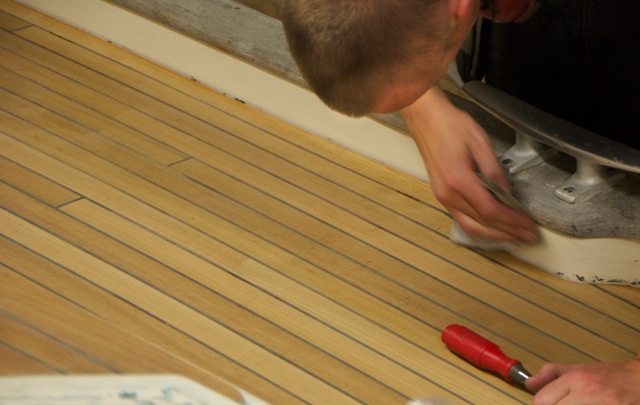
Checking the space between the coach roof and the deck and opening up the space where necessary before caulking.
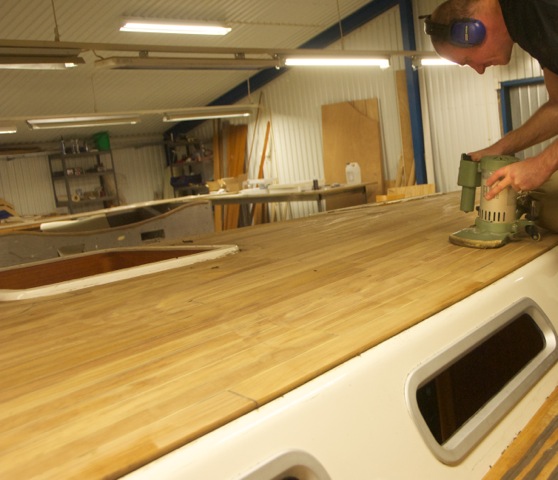
The teak is sanded very lightly in order to remove the overshooting caulking. This is done twice with two different types of sandpaper
The visible GRP is being polished and eventually the foot list is being sanded lightly as well, since this was still good enough on Regina Laska and could be saved.
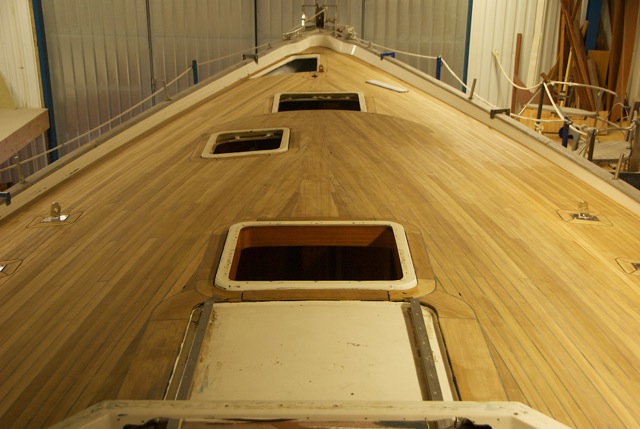
The entire deck almost ready.
When I left Regina Laska in Ellös before making my way to Hanseboot in Hamburg in order to hold talks about the refit project, the deck was almost finished. A second go of very light sanding was still missing, and the hatches and fittings were still to be added but one could already see the final outcome.
Slowly, slowly you might be able to imagine how beautiful Regina Laska will turn out one day!
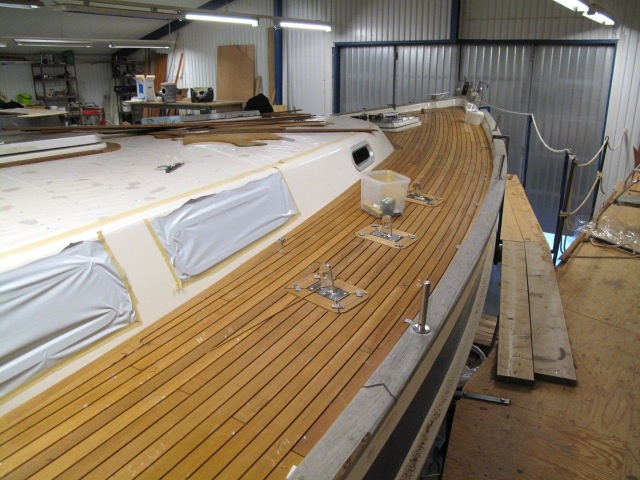
Regina Laska with new stoppers with teak support and new handrails
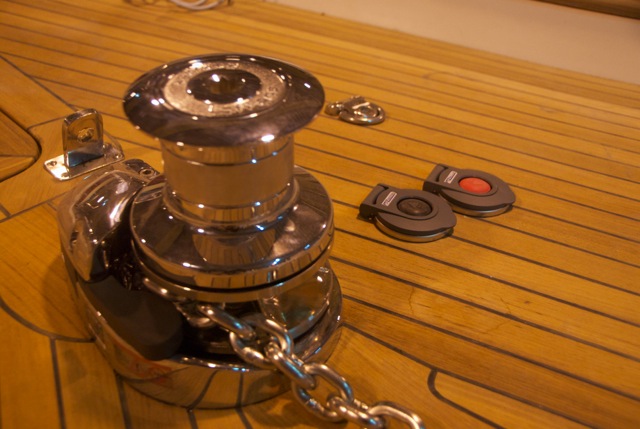
The new teak with the shining new Lofrans windless, buttons and the new 80 m stainless steel anchor chain by Kettenwälder
Finally, I would like to show some examples how detailed these men work. In addition to the fine work they do when laying teak for new Hallberg-Rassy boats, they give even more attention to detail when doing a refit of an old boat in their own yard, surpassing my expectations by far.
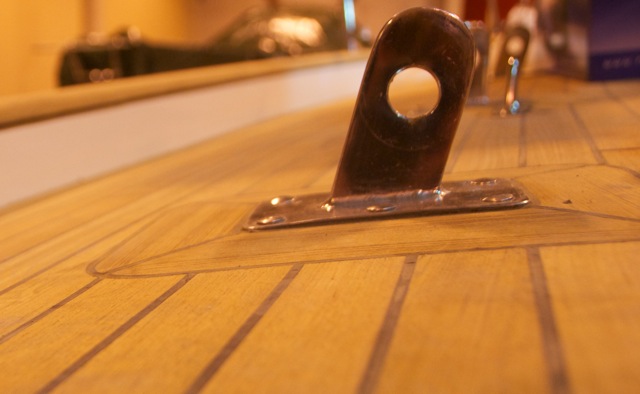
When doing a refit, the teak around the shrouds are sloping down towards the deck so water is led away from the shrouds.
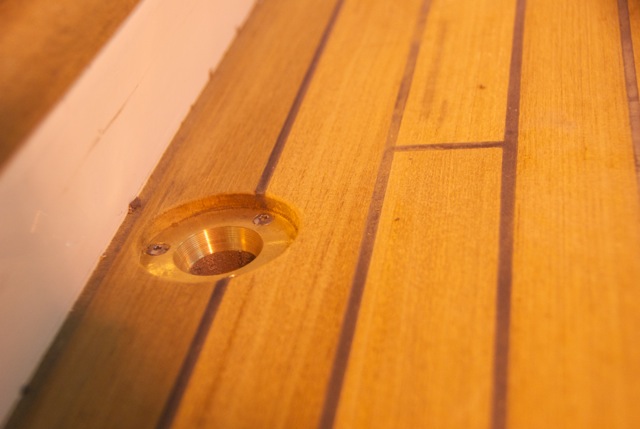
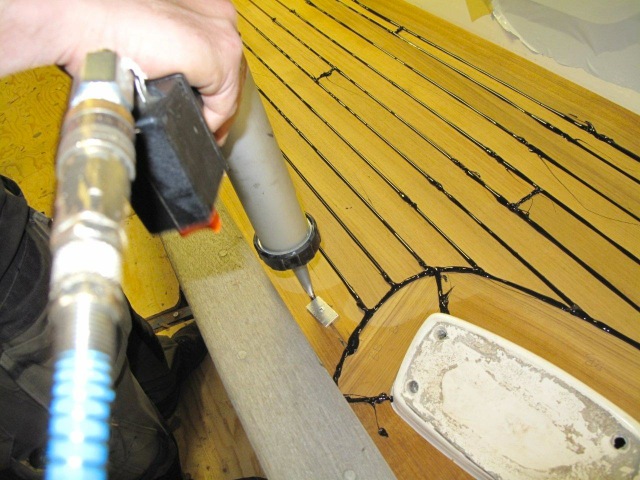
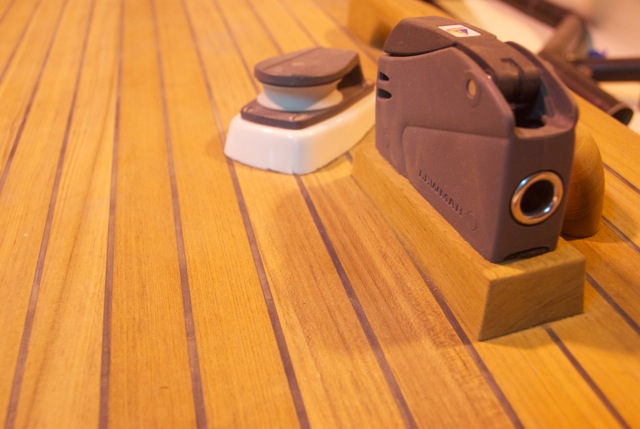
Contrary to new teak decks, the water outlets from the deck are sealed into the teak rather than screwing them on top of the teak. This allows the water to run freely down the pipes, makes cleaning easy and allows for sanding the teak with the outlets still in place.