The Hardtop
A masterpiece in woodwork refurbishment
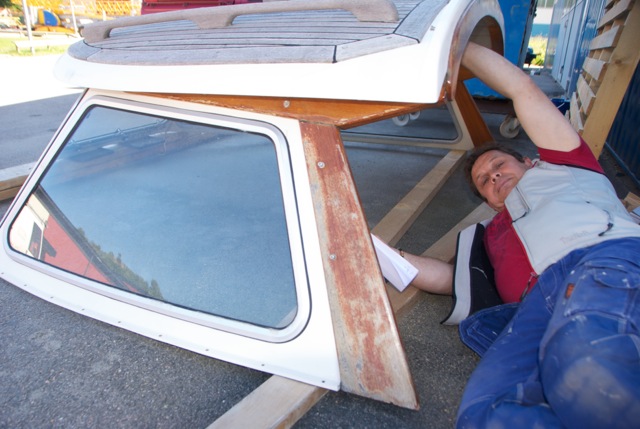
Carl investigating the work involved to refurbish the hardtop
The hardtop is an extra piece of equipment that can be added to a Hallberg-Rassy. The hard dodger replaces the soft sprayhood and has major advantages and a couple of disadvantages, these being restricting the sight forward from the helm and the non-existing opportunity for sailing “open air” by the companionway when folding away a soft sprayhood. Possibly, entering the boat might feel somewhat more restricted with a hardtop and there might be a slight risk of banging one’s head against the hard top as well.
From my own experience, we left the sprayhood up all the time, anyway, so possibly having a hard dodger does not change things too much on the boat after all.
Although the hardtop is easily dismantled should one desire to leave it at home or sell it to another HR owner, boatowners with a hardtop swear by it and never want to sail without, even in the tropics. There must be a reason!
This coming summer, I will make my own experiences sailing with a hardtop for the first time and we will see if I will agree to the fact that the advantages well make up for the above inconveniences.
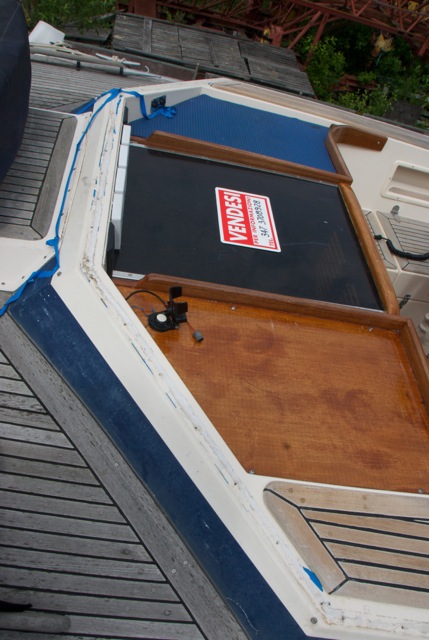
The hardtop taken off Regina Laska before the commence of the refit.
The outer navtables are equally calling for urgent treatment.
The main advantages with a hard top are said to be:
– better hand support when walking forward
– better shelter even allowing for closing the aft of the hardtop, hence sailing “indoors” in a heated and well insulated cabin
– Less noise (hauling wind, breaking waves etc) giving a feeling of shelter and protection, hence increasing comfort
– Less heat in the tropics thanks to insulation and 100% UV-protection
– Reading lights can be fitted in the hardtop ceiling
– Good place to install our high-end stereo loudspeakers
– Possibility to install a solar panel on top of the hardtop
– Bigger windows and hence better visibility all around when sitting under hardtop, especially to the sides (compared to a closed sprayhood)
– More privacy when in port
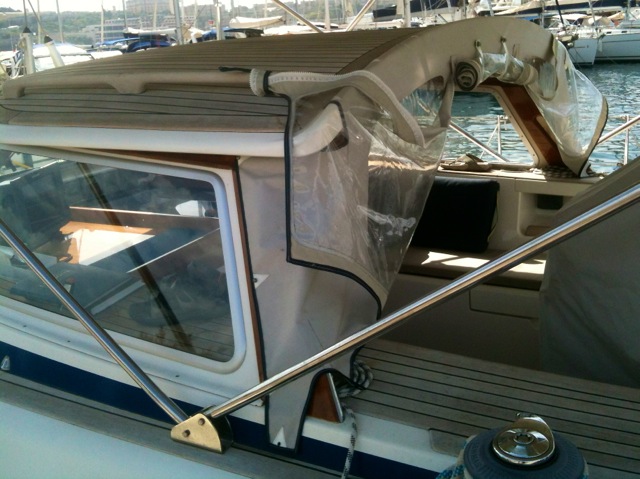
Closing the aft of the hardtop, e.g. for sailing “indoors” in harsh weather,
here seen on a HR54 in Malta
After years in the Mediterranean sun, Regina Laska’s hardtop needed to be varnished, polished and cleaned, both from the outside and the inside. The good news was that the teak at the sides still looked fine underneath the varnish and even the ceiling panels could be saved by means of a careful refurbishment.
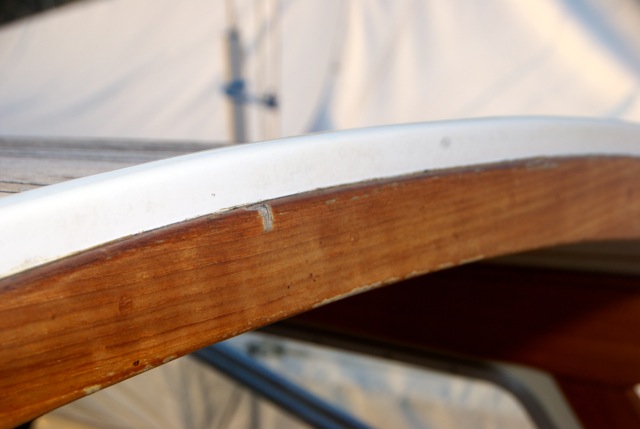
Detail of the teak that needed to be re-varnished but where the teak could be saved
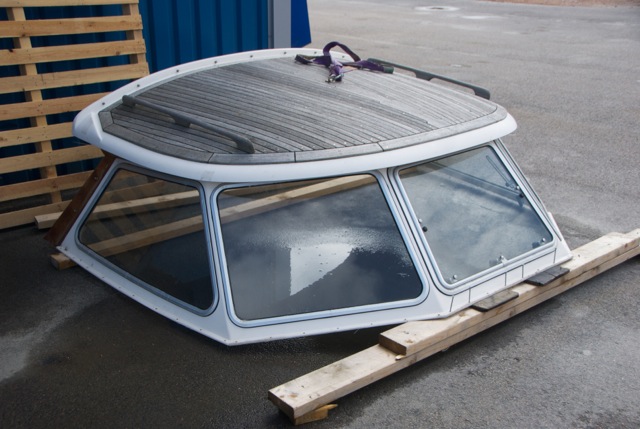
Regina Laska’s hardtop waiting to be lifted indoors for a complete refurbishment
First of all Ellös Teakservice got the hardtop for the change of the teak on the roof. The same vacuum glued procedure was used as for the rest of the deck (see story here), with one exception. It is very important to first treat the individual pieces of teak so they follow the curved area of the hard top roof. If the teak is not pre-bent before gluing, the ribbons will eventually loosen, no matter how strong the glue. To avoid this happening, even after many, many years, Ellös Teakservice attention to detail is best shown by its carefully bending the individual teak ribbons before gluing them onto the roof, hence avoiding the slightest tension. No wonder Ellös Teakservice has never had a single warrenty issue since its 10 years of vacuum gluing teak.
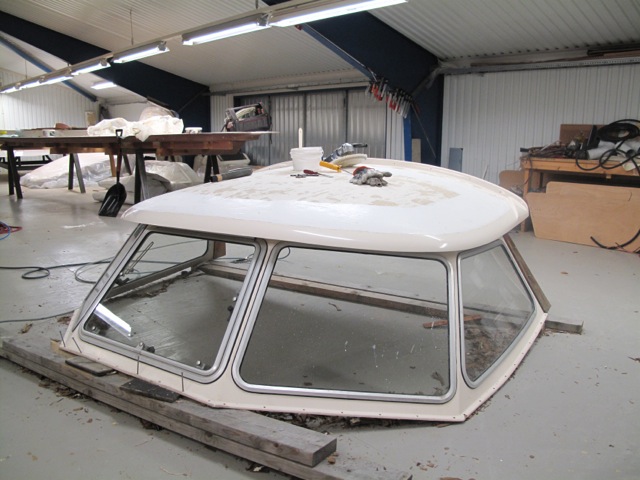
The hardtop at Ellös Teakservice
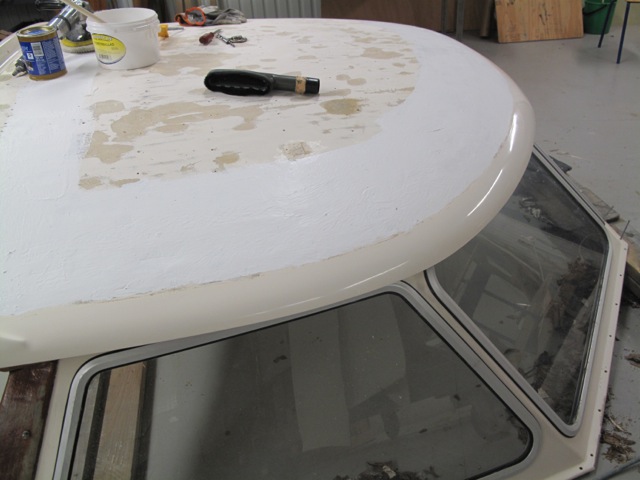
The hardtop has been stripped, the old holes are filled, the two layers of watertight epoxy are painted and then the pre-bent teak ribbons are glued onto the deck.
With the new teak laid onto the hardtop roof, it is being transported to the premises of Orust Lack for the treatment of the inner ceiling and the sanding and re-varnishing of the teak at the sides. Eight coats of varnish it being put onto the teak to allow for maximum protection and beauty.
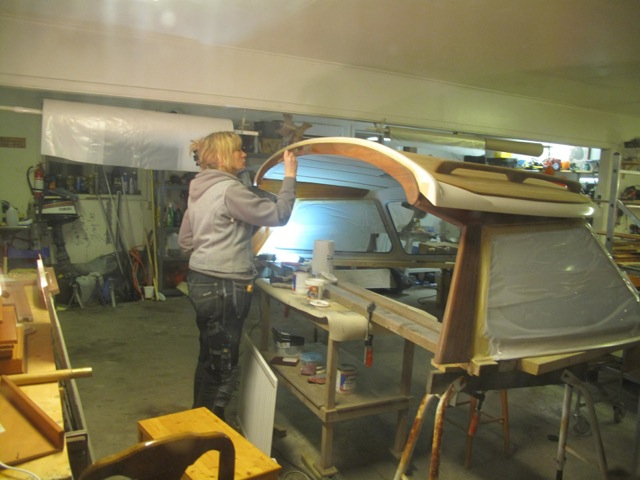
Anna is carefully taking care of the teak on the hardtop
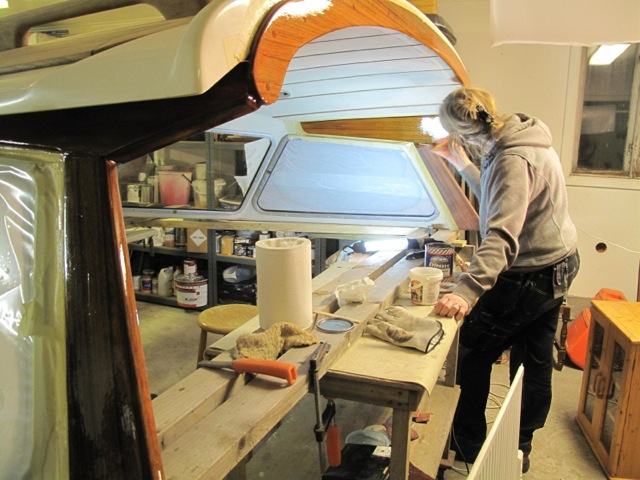
It takes a lot of patience to wait for the coats to dry before adding yet another layer of varnish onto the teak – 8 layers in total
In the meantime, the outer navtables have to be treated in a similar way. Looking at the old navtables one really questions if these ever will shine like new. But Anna Friberg of Orust Lack knows hot to treat wood and does miracles to the teak.
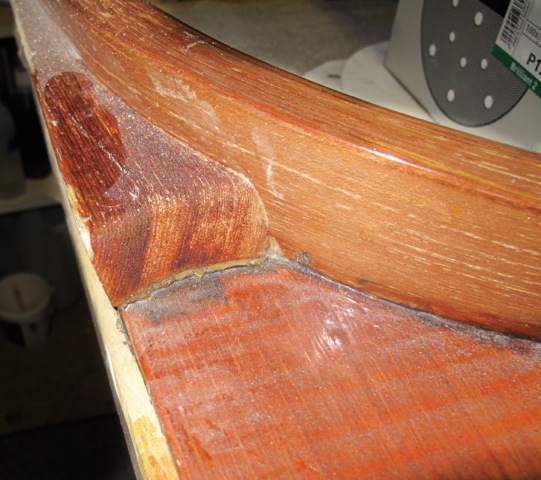
Detail of the old outer navtables. Can these really be saved?

Sanding the outer navtables. The untreated teak is slowly being revealed which is then painted with many coats of new varnish.
With new teak on the hardtop roof, newly varnished teak on the sides, reconditioned ceiling and the polished GRP, the hardtop was ready to be transported from Orust Lack back to Regina Laska. I must say: this was a first class transport!
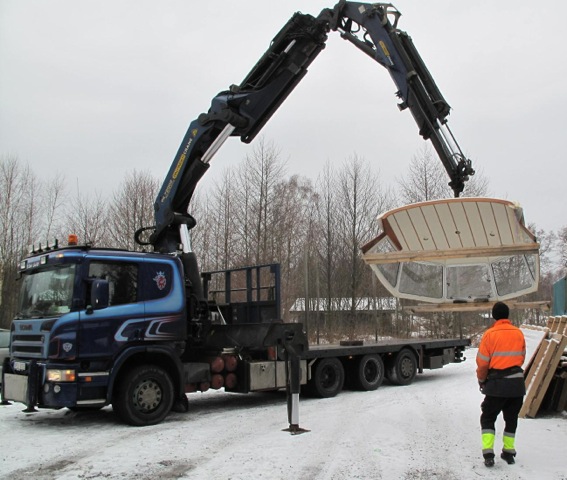
Regina Laska’s hardtop being lifted onto the truck to be transported to Regina Laska
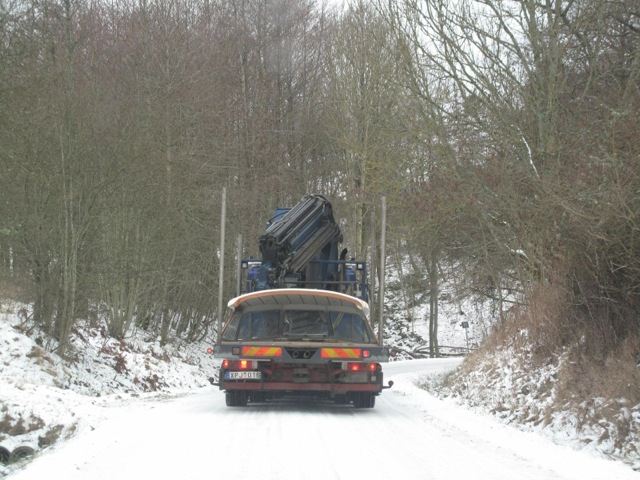
Driving the finished hardtop through the snowy landscape of Sweden
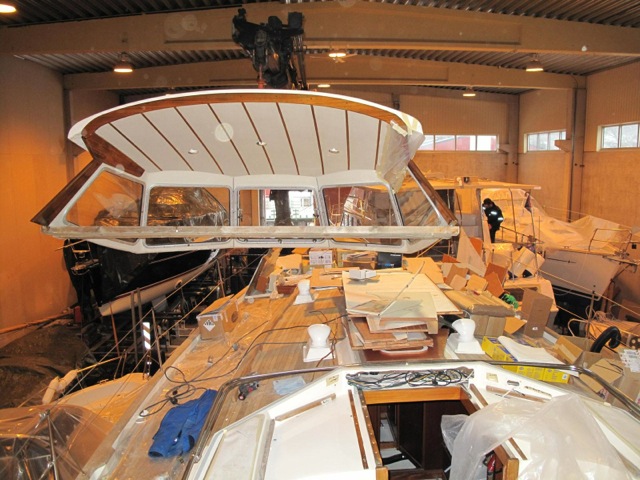
The gleaming hardtop is being lifted onto Regina Laska
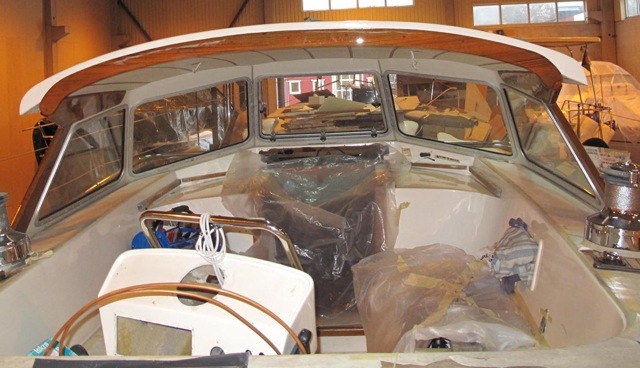
The hardtop in place
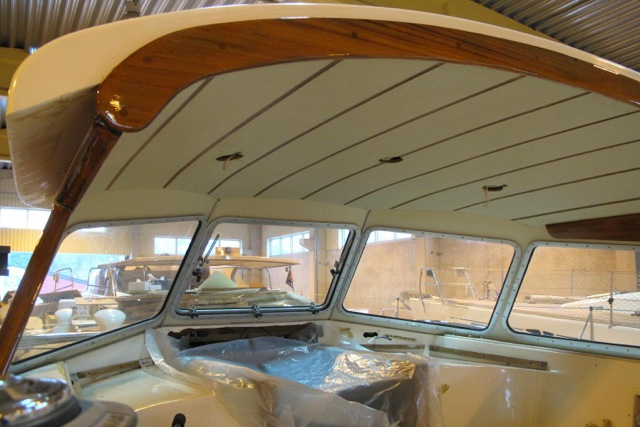
Please observe the reconditioned ceiling in shining white. The holes in the ceiling are where the new lamps are to be fitted. The stereo loudspeakers will be hanging down from the ceiling towards the windows.
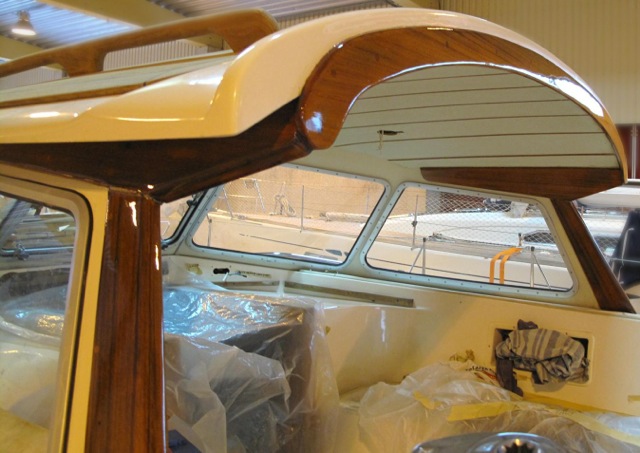
It is incredible what can be done when professionally refurbishing a boat

